FAQ: Standard Operating Procedures - SOPs
Quick Start Video
This quick start video quickly shows you the most commonly used options. After watching this short video, you can quickly get started with the app.
To get off to a good start, first create a work instruction. You need a Manage subscription.
1. Open the menu (hamburger icon):

2. Click "Manage":

3. Press "Add Workflow":

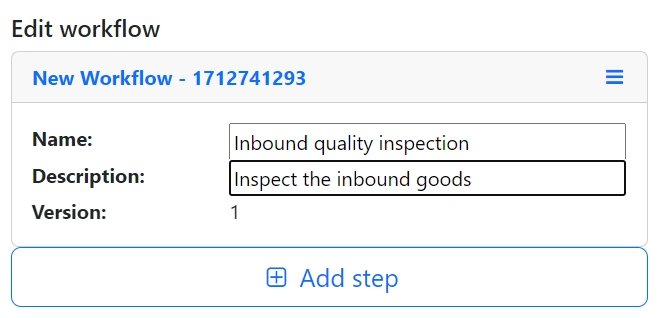
4. Give the workflow a name and optional description:
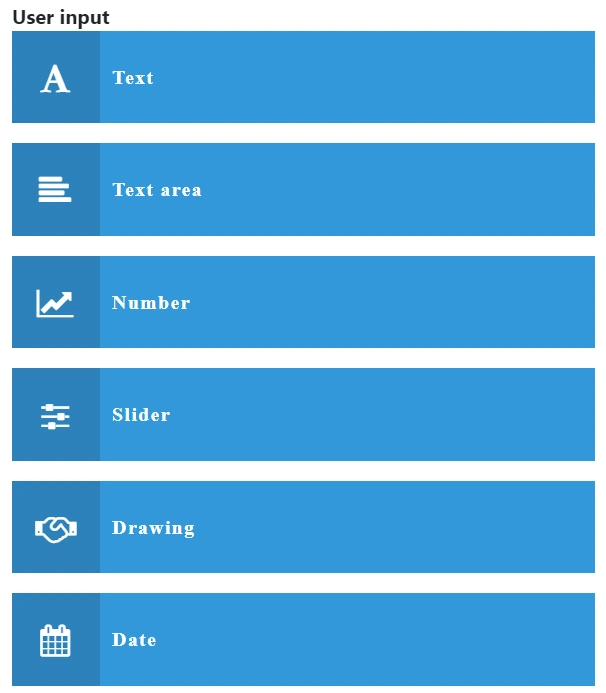
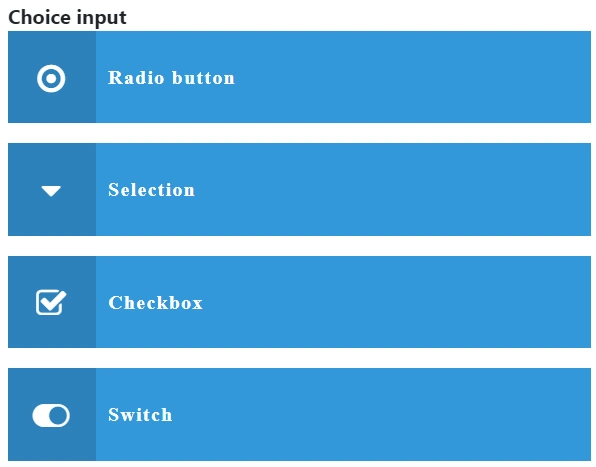
5. Press "Add step" to add instructions or data input blocks:


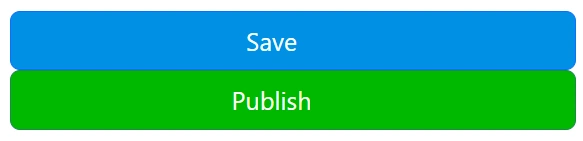
Create a complete workflow and press Save to store the draft. Once ready, press Publish to make it available:
To get off to a good start, first create a work instruction. You need a Manage subscription.
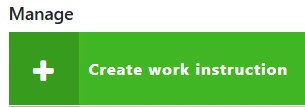
Click the "Create work instruction" button in the main menu:
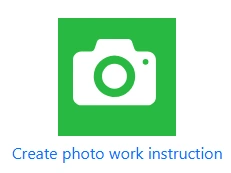
Then press the "Create photo work instruction" button:
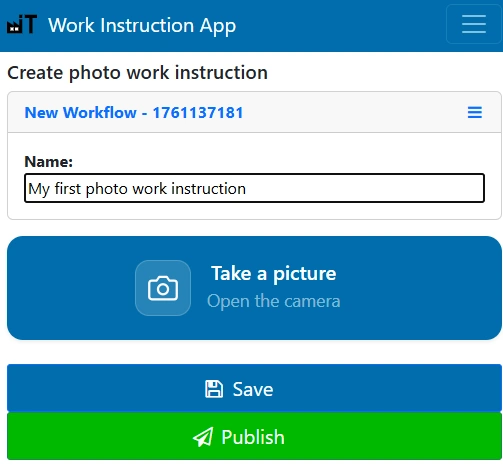
Give your work instruction a clear name. And press the "Take a picture" button:
Take several photos explaining step by step how to perform the different actions:
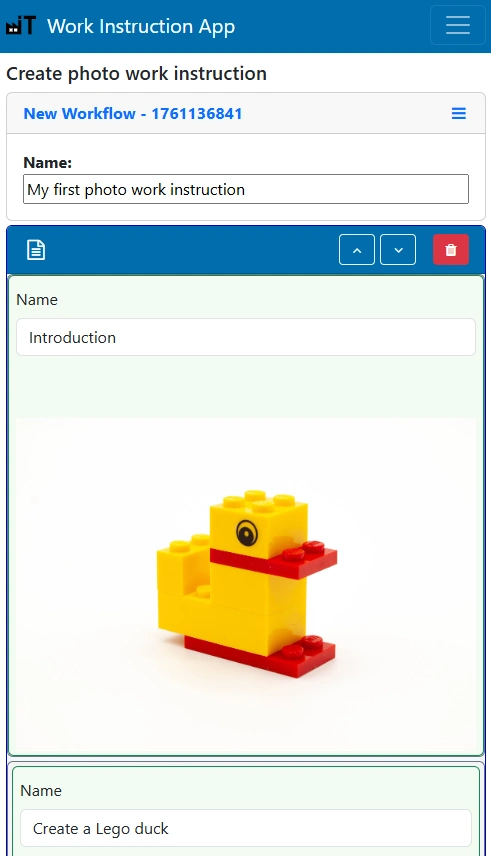
If desired, add a caption and description to each photo. When you're finished, press the "Pulish" button to publish the work instructions:

Your new photo work instruction has now been created and is ready to use.
To create a new work instruction you need a Manage subscription.
Click the "Create work instruction" button in the main menu:
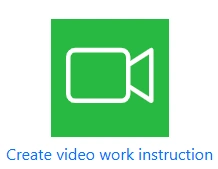
Then press the "Create video work instruction" button:
Give your work instruction a clear name. And press the "Create video" button:
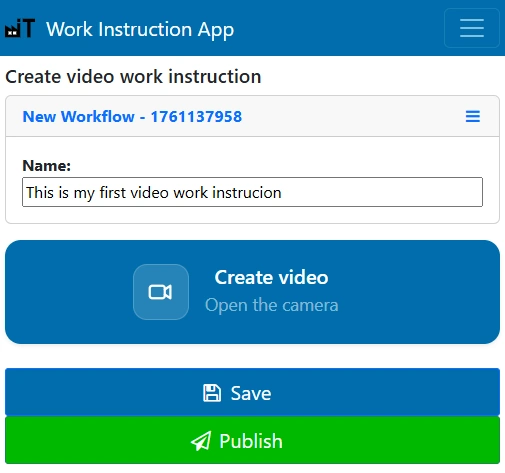
Record your videos. If desired, add a caption and description to each video. When you're finished, press the "Pulish" button to publish the work instructions:
Your new photo work instruction has now been created and is ready to use.
You need an Execute subscription.
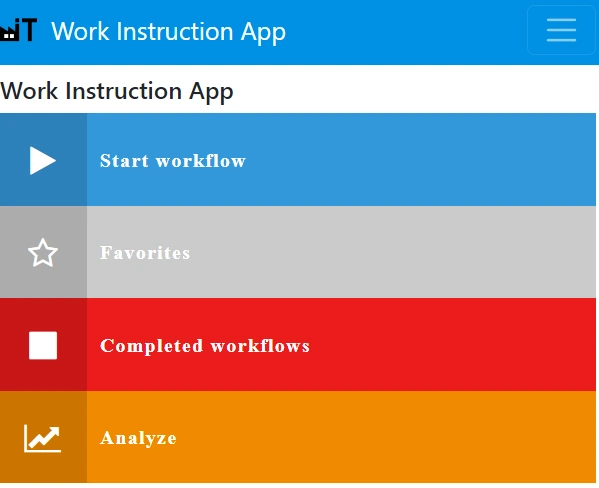
Start from the main menu by pressing "Start workflow" or "Favorites".
Select the work instruction you want to execute:

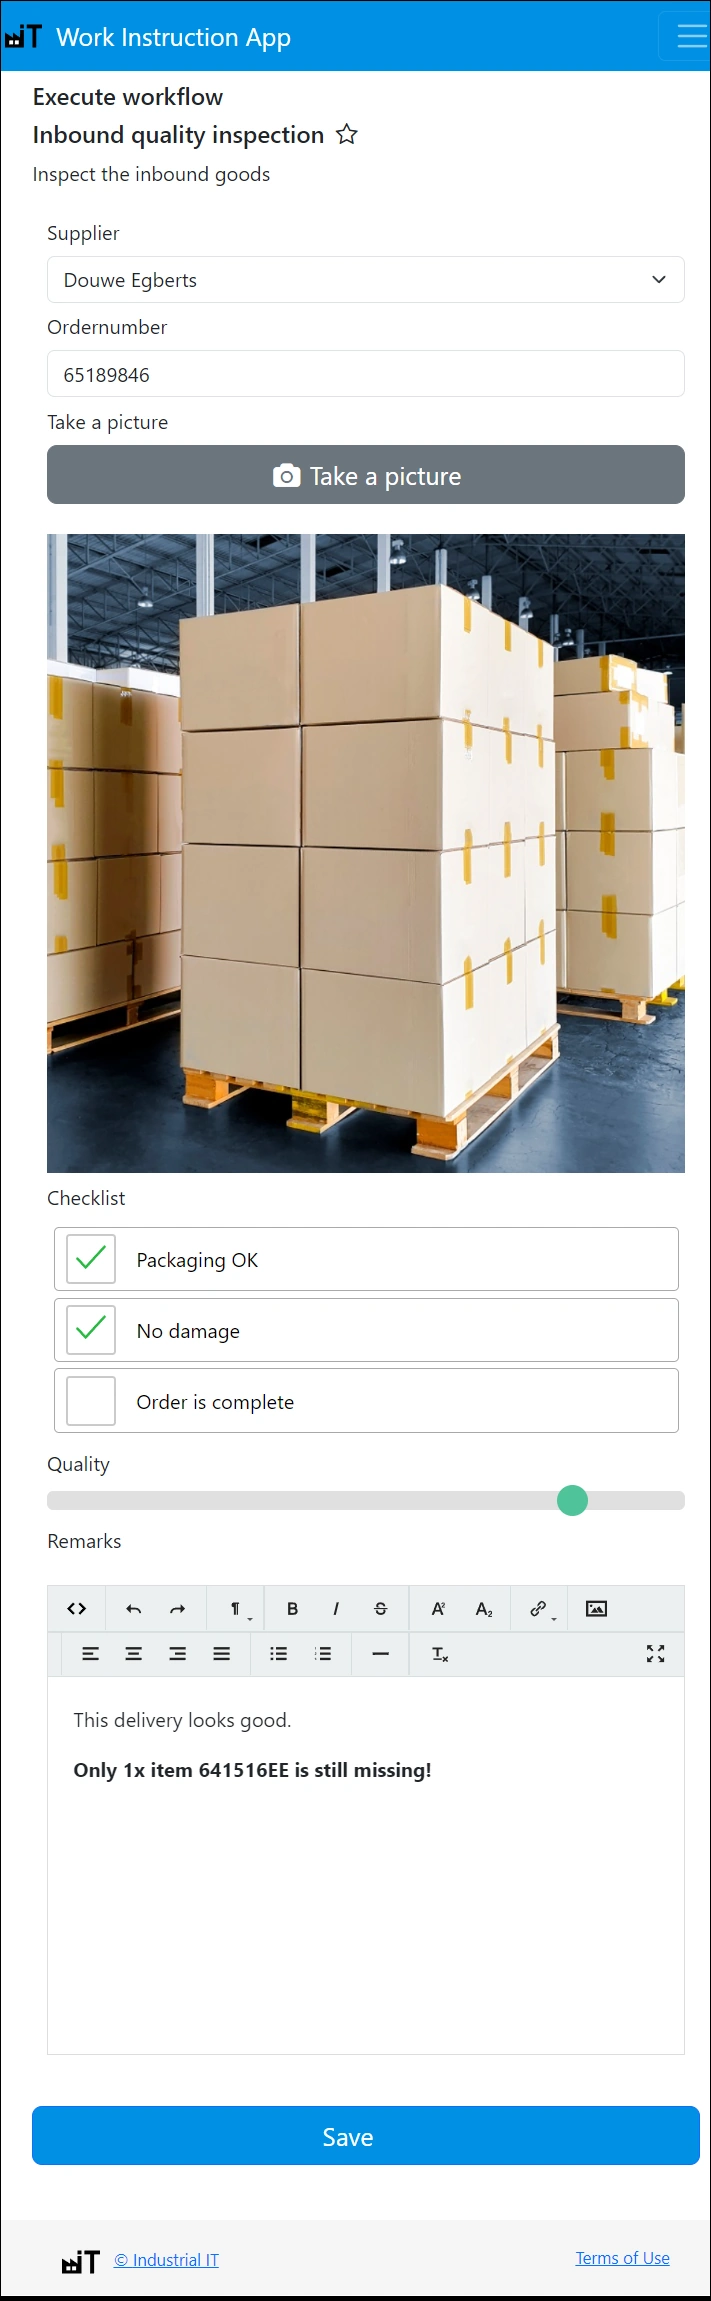
Go through the steps, fill in the requested info, and press "Save":
After execution, return to the menu. Use the "Completed workflows" button to review recent activity:

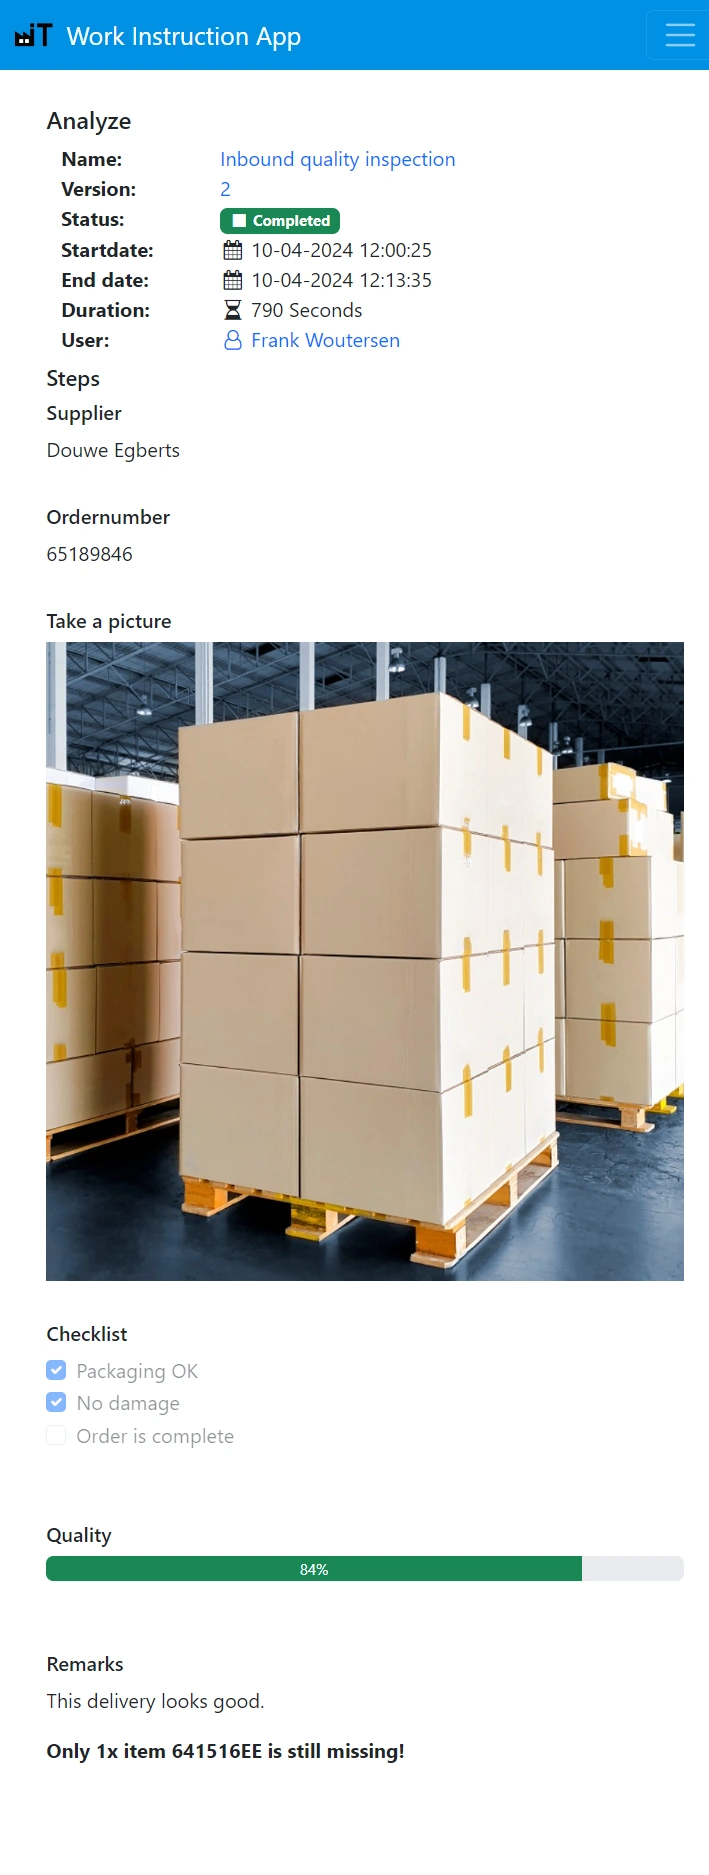
You need an Analyze subscription. Press "Analyze" in the main screen:

You'll see a list of executed workflows and their definitions. Click on a workflow to see detailed insights:
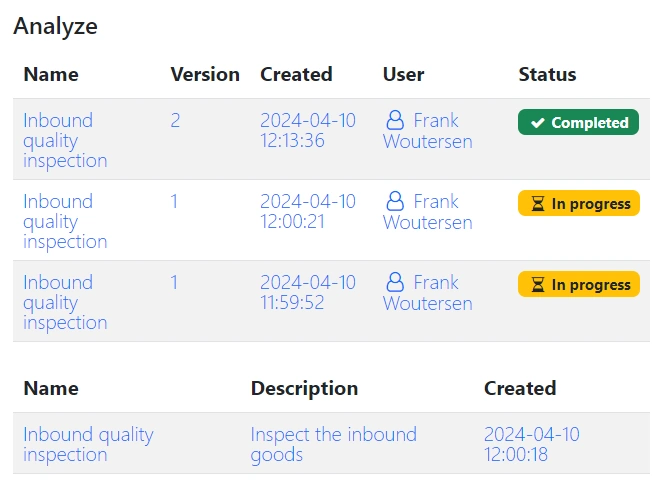
View who executed the workflow, when it was done, and what data was entered: