In short: a permit to work is a written authorisation for a specific, high-risk job at a specific place and time, such as hot work, entry into a confined space, work at height or work on live systems. It describes the job, the hazards and the controls, is issued by a competent person, checked again on site before work starts and formally closed when the job is done. A digital permit is a work instruction per permit type with required fields, photos, location and the signatures of issuer and executor, so every permit is recorded and can be found again.
What is a permit to work?
A permit to work (in Dutch a werkvergunning, in German an Arbeitserlaubnis or Erlaubnisschein) is more than a form. It is a system that makes sure non-routine, hazardous work is planned, that the people involved know the hazards and the controls, and that the area is handed back in a safe state afterwards. The technical guidance of the UK Health and Safety Executive on permit-to-work systems lists human factors, a poorly skilled workforce and the management of the permit system among the issues that can contribute to a major accident: a permit only works when the people who issue and receive it understand it and actually apply it.
A permit does not replace the risk assessment or the work instruction. It sits between them: the risk assessment says which work needs a permit, the permit sets the conditions for this one job, and the work instruction describes how the job itself is done.
When do you need a permit to work?
Which work needs a permit is decided by your own risk assessment, your customer's site rules and, in some cases, legislation. Typical permit work:
- Hot work: welding, cutting, grinding or using an open flame outside a designated workshop, especially near combustible material. OSHA 29 CFR 1910.252 in the United States requires authorisation of cutting and welding in such areas.
- Confined spaces: tanks, silos, vessels, pits and sewers, where oxygen deficiency, toxic gases or engulfment are possible. OSHA 29 CFR 1910.146 sets out a permit system for permit-required confined spaces; HSE guidance on confined spaces also calls for a safe system of work, often with a permit.
- Work at height: on roofs, near unprotected edges, or with temporary access equipment where a fall would be serious.
- Work on live systems: electrical installations, pressurised pipework or process lines that cannot be fully isolated, or where isolation itself is the hazardous part.
- Other non-routine work: excavation near cables, work on fire protection systems, work by contractors in a running plant.
A useful rule of thumb: if the job is not routine, involves a hazard that is not normally present, or brings people from different departments or companies together in one area, consider a permit.
What does a permit to work contain?
Permit forms differ by company and type, but the core is always the same:
- Job description: what will be done, by whom (company and names), with which equipment.
- Location and equipment: the exact place and the plant or machine involved, so there is no doubt which pump or which tank.
- Validity: date, start and end time; most permits are valid for one shift at most.
- Hazards: what can go wrong at this place, with this job.
- Controls: isolation, gas measurement, fire watch, barriers, personal protective equipment, rescue arrangements.
- Cross-references: related permits and isolations, such as the lockout of a machine or a second permit in the same area.
- Signatures: issuer (authorises the work), executor or receiver (accepts the conditions) and, at the end, close-out.
The table shows typical controls per permit type. It is a starting point for your own forms, not a complete list for your situation.
| Permit type | Main hazards | Typical controls on the permit |
|---|---|---|
| Hot work | Fire, explosion, burns, fumes | Combustibles removed or covered, gas measurement where flammable atmosphere is possible, extinguisher at hand, fire watch during and after the work, fire detection status agreed |
| Confined space entry | Oxygen deficiency, toxic or flammable gas, engulfment, difficult rescue | Isolation of all lines and drives, ventilation, gas measurement before and during entry, attendant outside, rescue plan and equipment, communication |
| Work at height | Falls, falling objects | Collective protection (guardrails, platform) first, fall arrest equipment checked, area below barricaded, weather conditions checked |
| Work on live or pressurised systems | Electric shock, arc flash, release of pressure or product | Justification why isolation is not possible, qualified persons only, insulated tools and PPE, second person present, defined boundaries |
| Excavation | Buried cables and pipes, collapse | Cable and pipe drawings checked, detection before digging, shoring or sloping, edge protection |
How does the permit to work process run, step by step?
A permit has a life cycle. The steps below are the minimum; your site rules may add more.
1. Request the permit
The person responsible for the job requests a permit with the job description, location, time and the people who will do the work. The request comes before the work is planned in detail, so that controls can be arranged in time.
2. Assess the hazards and set the controls
The issuer assesses the hazards of this job at this place and writes down the controls. Where isolation is needed, the issuer refers to the isolation or lockout procedure and checks that it has been carried out.
3. Issue the permit
The issuer and the executor go through the permit together and both sign it. The executor confirms that the conditions are understood and will be followed; the issuer confirms that the work may start under those conditions.
4. Check the situation on site before starting
Just before work starts, the team checks on the spot that the controls are really in place: isolation, measurements, barriers, fire watch, equipment. This is the moment of a last minute risk analysis (LMRA): if the situation differs from the permit, work does not start.
5. Carry out the work within the permit
The work stays within the scope, place and time of the permit. If the job changes, the conditions change or the permit expires, the work stops and the permit is revised or a new one issued.
6. Close out the permit
When the job is finished, the executor reports the state of the area, the issuer checks it, isolations are removed according to their own procedure and both sign the close-out. For hot work, the fire watch continues for the agreed time after the work has stopped.
Why do paper permits cause problems?
Paper permits are familiar, and the form itself is often good. The problems are around it. Permits are filled in at the office rather than on site, fields are left empty because nothing forces them to be filled, photos of the situation do not exist, and closed permits end up in a folder where nobody can find them when an incident is investigated months later. On a site with several contractors it is also hard to see which permits are open at a given moment.
In practice with digital work instructions
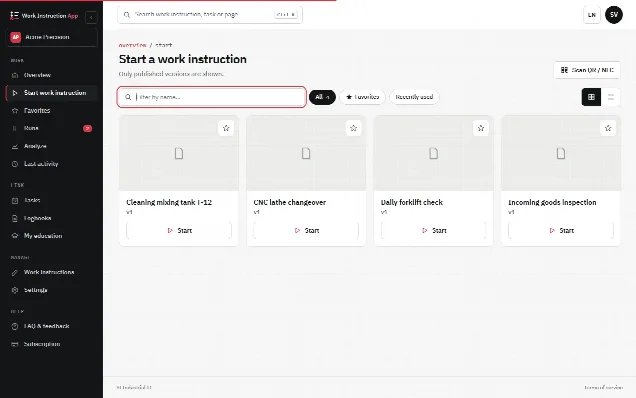
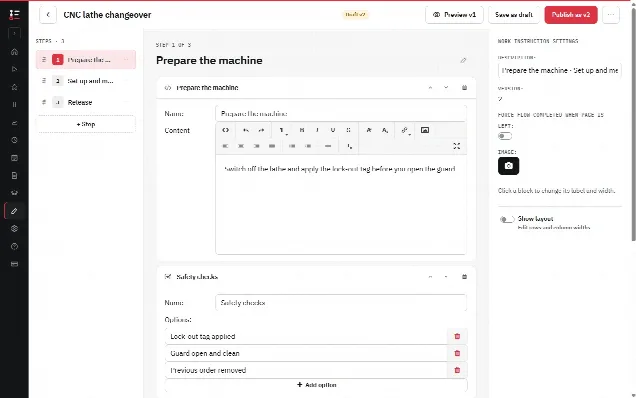
In the Work Instruction App you build one work instruction per permit type: hot work, confined space entry, work at height and so on. Each permit is then one run of that work instruction.
- Required fields. Job description, contractor, names, validity and every control are fields that are marked as required. Next and Finish only work when they are filled in, so a permit with an empty "gas measurement" field cannot be completed.
- Photos and location. A photo step records the situation before the work starts and after close-out; a location step stores the GPS position, a map location step lets the user mark the spot on a floor plan.
- Signatures of issuer and executor. Two signature steps, one for the issuer and one for the executor, are placed in the same run: both sign on the same device at the moment the permit is issued. A permit cannot be sent to someone else for issue before the work starts, so issuer and executor need to be together on site, which is good practice anyway. The approval the app does offer comes at the end: with Approval required on the work instruction, the completed permit waits after close-out until a Manage user who did not perform the run approves it with their own password.
- Close-out in the same run. The run can be paused after issue and resumed for close-out, with the final checks, photos and signatures. A run that is still paused is an open permit.
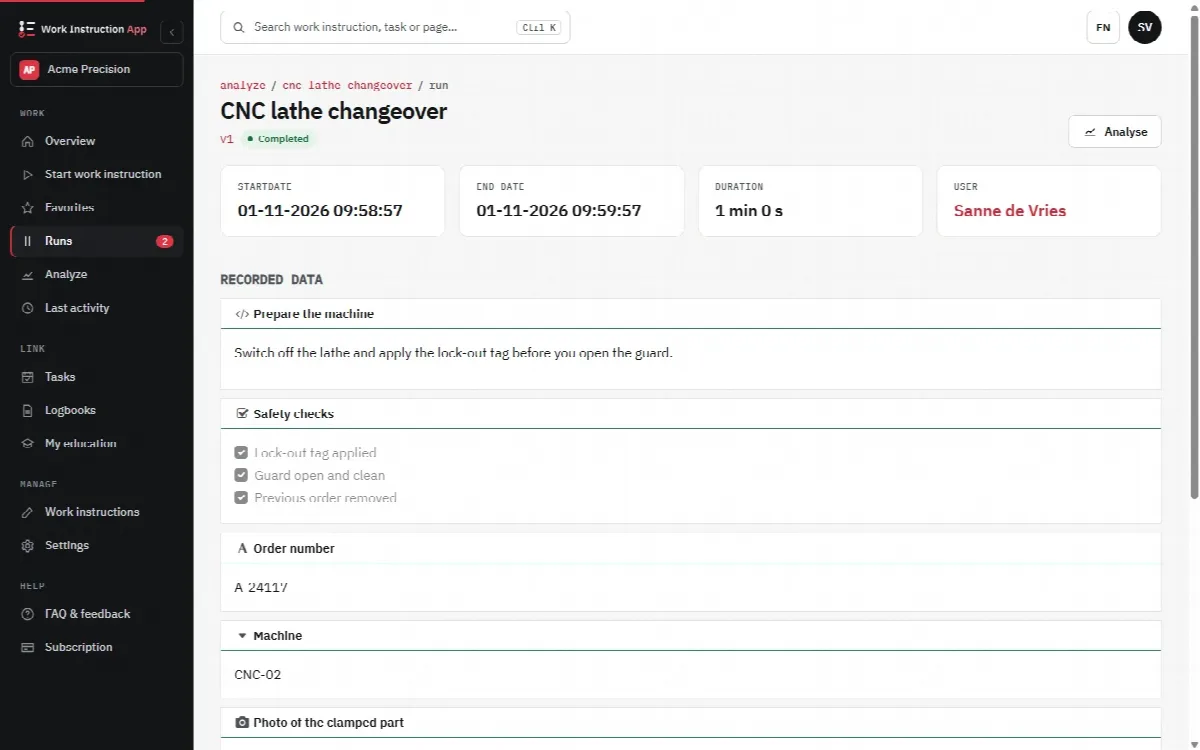
- A record per permit. Each run records the user who started it, the start and end time, the version of the form and every answer, photo and signature; the names of issuer and executor are in the fields of the permit itself. Completed runs can be filtered per work instruction, user and period, which is what you need for an inspection or an incident investigation, see audits and inspections.
- The right form at the right place. A QR code or NFC tag at a tank, a roof access or a substation opens the permit work instruction for that location, see work instructions via NFC.
Contractors and rental companies who work on customer sites use the same approach for their own permits and checks, see work instructions for rental and service. The step types you can use are described on digital checklists, and the guide why digital work instructions explains what changes when paper forms move to a phone or tablet.
Tips for a permit system that works
- Keep the number of permit types small. A handful of clear types is easier to apply than a different form for every situation.
- Write controls as checks. "Gas measurement done, O2 value:" with a number field is better than a general "atmosphere safe".
- Train issuers. The issuer carries the responsibility for the conditions. Only trained, appointed people issue permits.
- Review closed permits. Look regularly at a sample of closed permits: were the fields filled in sensibly, were photos taken, did close-out happen on time?