In short: in the food industry, work instructions protect the consumer at the moments where routine work can go wrong: cleaning and hygiene, changeovers between products with different allergens, line clearance and the label check at the start of a run. A good food work instruction tells the operator exactly what to do and asks for proof at every critical point: a confirmation, a value, a photo or a signature, recorded with who did it and when.
Why do work instructions matter so much in food production?
In most industries a mistake costs scrap or rework. In food, a mistake can make someone ill: an allergen left behind on a line, a product in the wrong packaging, a label without the right allergen information, a cleaning that missed a hidden corner. Many of these risks are not in the recipe or the process design, but in daily routine tasks done by different people on different shifts.
That is why food safety law and the private food safety standards put so much weight on documented, followed and recorded procedures. In the EU, Regulation (EC) No 852/2004 on the hygiene of foodstuffs requires food businesses to have procedures based on HACCP principles. Regulation (EU) No 1169/2011 sets the rules for food information, including how allergens must be shown on the label. Certification schemes such as BRCGS Food Safety, IFS Food and FSSC 22000 build on this and are audited against in many supply chains. Each scheme has its own requirements; read the current version of the standard you are certified to. What they share is the expectation that procedures exist on paper or screen, that people follow them and that you can show that they did.
Work instructions are the operator-level part of that system. Where a procedure or SOP says what must happen and why, a work instruction shows how a specific task is done on a specific line.
Which work instructions does a food plant need?
The list differs per plant, but these procedures come back in almost every food business. The table shows what is typically recorded for each.
| Procedure | When | What to record |
|---|---|---|
| Routine cleaning of a line or machine | End of shift, between runs, as scheduled | Who, when, which areas, cleaning agent and concentration, visual check result |
| Allergen changeover cleaning | Before a product that must not contain an allergen of the previous one | Previous and next product, areas cleaned, verification result (visual, swab or rapid test as your plan prescribes), release by an authorised person |
| Line clearance | Before every new run or product | Removed materials, packaging and labels of the previous run, empty line confirmed, photo, signature |
| Label and packaging check | Start of every run and after a roll or batch change | Article and label version, allergen information, best-before or use-by date, batch code, photo of the label |
| CCP monitoring | As defined in the HACCP plan | Measured value (temperature, time, metal detector test), within limits yes or no, corrective action |
| Hygiene entry and personal hygiene | Entering the production area | Mostly instruction rather than a record per person; record checks where your plan requires them |
| Glass and hard plastic check | As scheduled | Items checked, intact yes or no, location of any breakage, action |
| Foreign body detection check | Start of shift and at set intervals | Test pieces passed or rejected, action if the detector fails |
Registration at critical control points is a subject in its own right, with its own critical limits and corrective actions; this guide only touches on it. The focus here is on the routine tasks around it.
How do you write a cleaning work instruction?
A cleaning instruction is only as good as its detail. "Clean the filler" leaves every operator to decide what that means. A good cleaning instruction states per area:
- Which part: named and shown with a photo, including hidden places such as the underside of conveyors, seals and dead corners.
- How to prepare: machine stopped and safely isolated, product removed, parts dismantled as shown.
- Which agent and concentration: the product name, the dilution and the contact time.
- Which tools: colour-coded brushes and cloths for the area, so tools from raw and finished product zones are not mixed.
- The order: dry clean, pre-rinse, apply agent, contact time, rinse, disinfect if required, dry.
- The OK criterion: what a clean surface looks like, with a reference photo, and which verification follows.
The same principles apply as for every good instruction: one action per step, concrete values instead of "thoroughly", and photos from the operator's point of view. A ready-made structure is in our SOP template.
How should an allergen changeover be done?
An allergen changeover is the moment where the line switches from a product with an allergen to one without it (or with a different one). It combines cleaning, inspection and a formal release. A typical sequence:
- Finish the previous run and remove all remaining product, ingredients and rework from the line.
- Remove packaging and labels of the previous product (this overlaps with line clearance).
- Dismantle the parts that the cleaning instruction names, including the hidden places where product collects.
- Clean the line according to the allergen cleaning instruction, area by area.
- Inspect visually, with a torch where needed, and record the result per area.
- Verify with the method your allergen plan prescribes, for example a swab or a rapid test, and record the result.
- Have an authorised person release the line before the next product starts, with a signature.
- Check the first labels and packaging of the new run against the specification of the new product.
What goes wrong in practice is rarely the cleaning itself, but a skipped step under time pressure, a verification that was done but not recorded, or a release given by someone who did not see the line. That is exactly what a structured work instruction with required checks prevents.
What does line clearance involve?
Line clearance means checking that nothing from the previous run is left on the line before the next one starts: no product, no packaging, no labels, no documents. It is simple and easy to skip, which is why it should be a fixed part of every changeover. A good line clearance instruction walks the operator along the line in a fixed route, point by point, and ends with a photo of the empty line and a signature. Where the wrong label in a box can mean a recall, the photo is worth the ten seconds it takes.
How do you organise the label check?
A label check at the start of a run compares the label on the product with the specification: the right article, the right label version, allergens highlighted in the list of ingredients as Regulation (EU) No 1169/2011 requires, the right date and the right batch code. Repeat the check after every change of label roll, printer setting or batch. Ask for a photo of the actual label: it is the strongest evidence that the check was really done, and it helps when a complaint comes in weeks later.
How do you do this with digital work instructions?
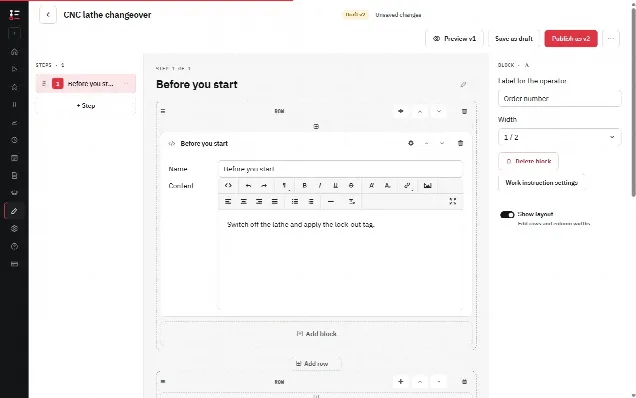
Paper lists on a clipboard are the classic way to record these tasks, but they are easy to fill in afterwards, hard to read and slow to find during an audit. In the Work Instruction App each procedure becomes a digital work instruction that the operator follows on a phone, tablet or PC at the line:
- Start at the line. A QR code at the line or machine opens the right instruction directly.
- One step per area or check, with a reference photo of the clean or correct state.
- Required checks: checkboxes, choices and number fields marked as required, so a run cannot be finished with a step skipped. See digital checklists and digital forms.
- Deviations and reminders: tick a "no" in a check as a deviating answer, so the run is marked and appears under the filter "With deviations", and show the corrective action on a step that only appears after that "no". A schedule with times of day and weekdays gives the Manage users a task and an e-mail when a check was not completed in time.
- Evidence: a photo of the empty line or the label, a measured value, a signature of the authorised person for the release. That signature is drawn on the same device; the run itself stays linked to the user who started it.
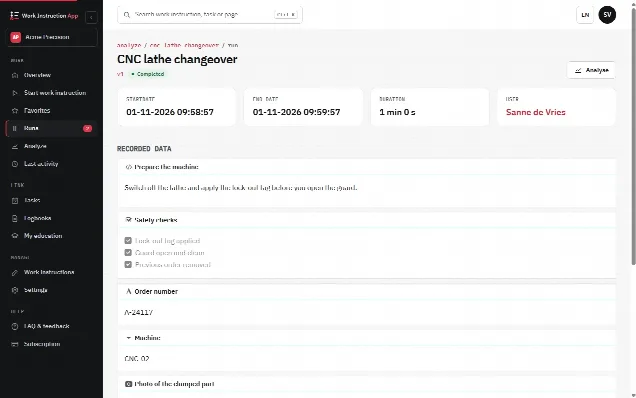
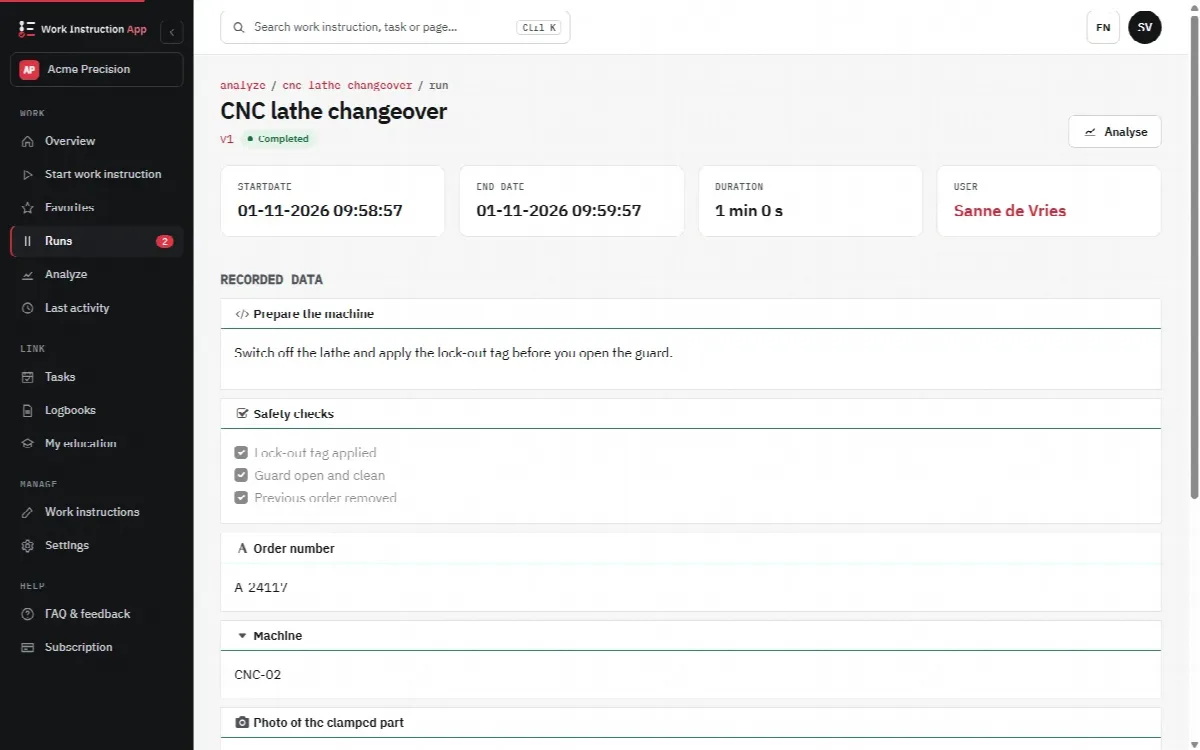
- Records per run: every run is stored with the user, start and end time, duration, version and every answer, photo and signature. Completed runs can be filtered per work instruction, user and period, which is what you show an auditor. See audits.
- Versions: when a cleaning agent or a procedure changes, you publish a new version; older versions stay traceable.
The app does not replace your HACCP plan, your allergen risk assessment or your verification methods. It makes sure the tasks that follow from them are done the same way every time and that the evidence is there. More about production environments is on the manufacturing page.
Where do you start?
Pick the one task where a mistake would hurt most, often the allergen changeover on your busiest line. Write it as a digital work instruction with a photo per area and required checks, test it with an operator from each shift and use it for a few weeks. Then add line clearance and the label check, and only after that the routine cleaning schedule. A few instructions that are always followed protect more than a full binder that nobody opens.