In short: SMED (Single-Minute Exchange of Die) is a method by Shigeo Shingo to shorten changeovers by moving as much work as possible to the time the machine is still running. It only works on top of a standard changeover work instruction: a fixed sequence everyone follows, with the settings per product as numbers, a first-off check and a release. Without that standard you cannot measure the changeover, and what you cannot measure you cannot improve.
What is SMED?
SMED stands for Single-Minute Exchange of Die. Shigeo Shingo developed the method while working with Japanese manufacturers, among them Toyota, and described it in his book A Revolution in Manufacturing: The SMED System. "Single-minute" means single-digit minutes: the goal is a changeover of less than ten minutes. That goal is not always reachable, but the way of thinking applies to every changeover, from a press tool to a filling line, an injection mould, a printing plate or a packaging format.
The changeover time is usually defined as the time from the last good product of the previous order to the first good product of the next order, at normal speed. That definition matters: it includes the adjustments and test parts after the restart, which is often where the most time disappears.
What is the difference between internal and external setup?
The core idea of SMED is the split between two kinds of work:
- Internal setup can only be done while the machine is stopped: removing the old tool, mounting the new one, adjusting the stops.
- External setup can be done while the machine is still running the previous order: fetching the tool, preheating it, preparing materials, checking the paperwork.
In many plants, external work is done during the stop simply because nobody planned it beforehand. Someone walks to the tool store after the machine has stopped, or searches for the right wrench. The table shows typical examples.
| Activity | Often done as | Can be | How |
|---|---|---|---|
| Fetching the next tool or mould | Internal | External | Tool on a trolley next to the machine before the last order ends |
| Looking for wrenches, bolts and clamps | Internal | External | Fixed changeover kit, checked in the preparation checklist |
| Preheating a mould or die | Internal | External | Preheat in a separate station while the machine runs |
| Preparing material, labels and packaging | Internal | External | Material staged at the line, checked against the order |
| Looking up settings for the new product | Internal | External | Settings per product as numbers in the instruction |
| Locking out the machine | Internal | Internal | Stays internal; make it a required step, never skip it |
| Removing and mounting the tool | Internal | Internal, shorter | Quick clamps, standard heights, guide pins |
| Trial runs and adjusting | Internal | Internal, shorter | Fixed reference positions instead of trial and error |
What are the steps of SMED?
Shingo described the method in stages. In practice most teams work through them as follows:
- Observe and record the current changeover. Film it or write down every action with its time. Do not improve yet.
- Separate internal and external work. Mark every action as internal or external and move all external work to before the stop or after the restart. This step alone often gives a noticeable reduction, without any investment.
- Convert internal to external. Look at each remaining internal action and ask how it could be done while the machine runs: preheating, pre-assembling, using an intermediate fixture.
- Streamline everything. Shorten what remains: quick clamps instead of bolts, one tool size, parallel work by two people, standard heights, eliminating adjustments by fixed reference positions.
- Standardise and repeat. Write the improved method down as the new standard, train it and measure again.
The last step is the one that is usually skipped, and it is the reason many SMED workshops lose their effect after a few months.
Why is a standard changeover instruction the basis?
A changeover that every operator does in their own way has no fixed duration. One shift fetches the tool beforehand, the next does not; one operator knows the settings by heart, a colleague searches for them in an old spreadsheet. As long as the method differs per person, a measured time says more about who was on shift than about the process. That is why standard work comes before improvement: first make the current best way the standard, then improve the standard.
A written changeover instruction also secures the result of a SMED project. The improvements live in the sequence of steps, the preparation checklist and the settings table. When those are in the instruction, a new operator gets the improved method on day one instead of learning the old habits from a colleague.
What belongs in a changeover work instruction?
A good changeover instruction follows the order of the work and puts each item where it is needed:
- Preparation checklist (external). Tool, mould or format parts ready, changeover kit complete, material and packaging staged, paperwork for the next order present. Done before the machine stops.
- Tools and aids. Exactly which wrenches, gauges and lifting aids are needed, preferably with a photo of the complete kit.
- Safety and lock-out. Stopping the machine, isolating the energy sources, placing a lock and verifying the machine is safe before anyone reaches in. Put this as a step in the sequence, not as a warning at the top.
- Removing and mounting. One action per step, with photos of the correct position and torque values where they apply.
- Settings per product as numbers. Temperatures, pressures, speeds, stop positions and format sizes per product, written as values with a unit and a tolerance, not as "set as usual".
- First-off check. Measure or inspect the first product against the specification and record the values. If the first product is not good, the instruction says what to do.
- Release. Who may release the line for production, and how that is recorded: a confirmation or signature.
The safety part deserves extra attention. European Directive 2009/104/EC on the use of work equipment requires employers to keep work equipment safe during use, and guidance such as the UK HSE publication HSG253 on the safe isolation of plant and equipment explains how to isolate energy sources before work. A changeover is exactly the moment people put their hands in the machine.
How do you write a changeover work instruction?
1. Film the current changeover from start to finish
Record one complete changeover by an experienced operator, from the last good product to the first good product. Note every action, its duration and whether the machine was running or stopped at that moment.
2. Mark every action as internal or external
Go through the recording with the operators and label each action. Every external action that was done during the stop moves to the preparation checklist, which is executed before the machine stops.
3. Write the preparation checklist
Turn the external actions into a short checklist with one item per line: tool ready, kit complete, material staged, settings for the next product at hand. Each item gets a checkbox so the operator confirms it before the stop.
4. Write the internal steps in the right order
Describe the internal work as one action per step, starting with lock-out. Add a photo where the correct position is easier to show than to describe, and state torque values and reference positions as numbers.
5. Add the settings per product as numbers
Collect the settings for every product in a table or as number fields, with unit and tolerance. Let the operator enter the actual value where a deviation would cause scrap, so the record shows what was set.
6. Add the first-off check and the release
End the instruction with a measurement or inspection of the first product and a release by an authorised person. A required number field for the measured value and a signature make the check impossible to skip.
7. Test the instruction with another operator
Let a colleague who did not help write it perform a changeover with the instruction. Every question is a missing step or an unclear value; fix it before you publish the first version.
How do you measure changeover time?
To improve a changeover you need a baseline and a trend, not a single stopwatch measurement during a workshop. When the changeover instruction is executed digitally, every run gives you a measurement for free: the start time, the end time and the duration, together with the user and the version of the instruction that was followed.
Two practical points make those numbers meaningful. First, define clearly when the operator starts and finishes the run, for example start at the preparation checklist and finish after the release. Second, compare runs per product combination and per version, because a change from a small to a large format takes longer than between two similar products. Changeover time is one component of OEE, but the duration of the runs is not an OEE calculation in itself; that also needs availability, speed and quality data from your production system.
How do you keep improving the changeover?
SMED is not a one-off project. Each improvement (a quick clamp, a preset tool, a new order of steps) leads to a new version of the instruction. With version control you can see which version was used for each changeover and compare the durations before and after a change. If a change does not help, you know it from the data instead of from opinions.
Make it easy for operators to propose improvements: they see every day which step causes waiting. Review the instruction after every significant change to the machine or the product range, and at least once a year.
In practice with digital work instructions
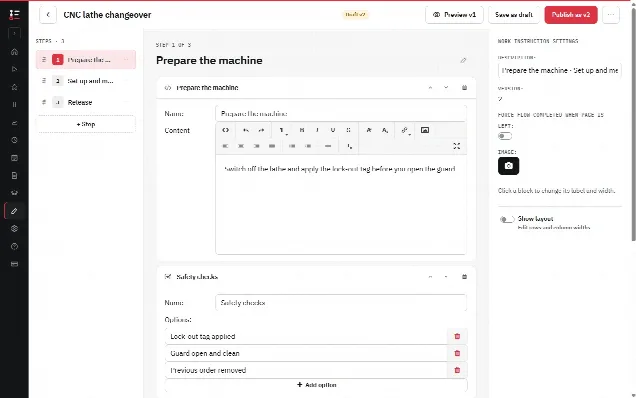
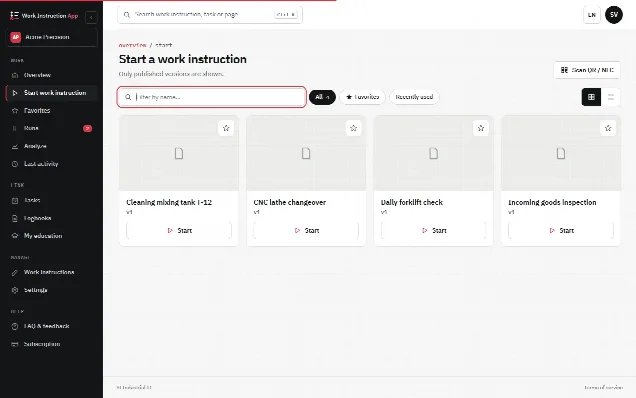
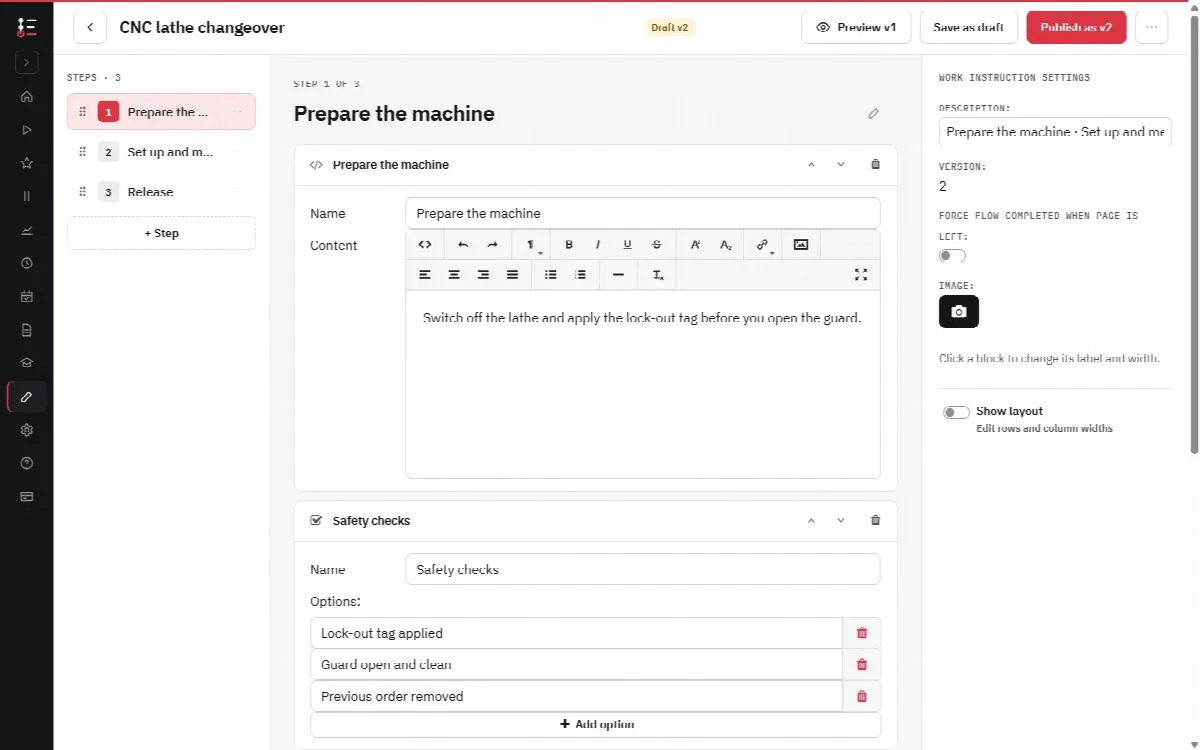
In the Work Instruction App you build the changeover instruction from steps with blocks: explanation text and photos for the mounting steps, checkboxes for the preparation checklist, number fields for the settings and the first-off measurement, and a signature for the release. Blocks can be marked as required, so a lock-out confirmation or a measured value cannot be skipped. Give a number field a minimum and a maximum and a value outside the range is marked: the operator cannot go on with Next or Finish until it is corrected. Still state the range in the label and in the instruction what the operator does to bring the value back within it. A QR code or NFC tag on the machine opens the right instruction directly.
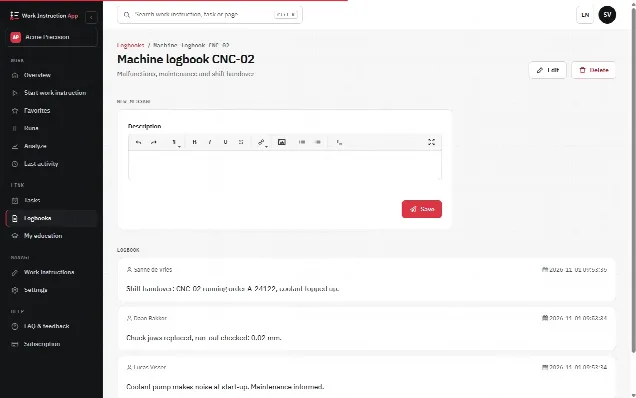
Every run records the user, the start and end time, the duration, the version and every answer and photo. Completed runs can be filtered per work instruction, user and period, which gives you the changeover times per instruction. Publishing an improvement creates a new version; older versions remain traceable. More about using this on the shop floor is on the manufacturing page, and the general method for writing steps is in how to write a work instruction.