In short: a visual work instruction shows each step with a photo or a short video of the real workplace, so an operator sees what to do instead of reading it. It works when every image is taken from the operator's point of view, shows one action, marks what matters and is well lit, and when videos are 10 to 30 seconds per step. Keep colleagues' faces out of the frame and update the visuals as soon as the process changes.
Why make work instructions visual?
Text describes, images show. "Place the bracket with the slotted hole towards the operator" takes a moment to read and still leaves room for doubt; a photo of the bracket in the right position does not. Visual instructions also help where not everyone reads the language of the instruction well, and they make an instruction faster to follow at the workplace, where people glance at a screen between actions instead of reading paragraphs.
But visuals only help if they are made well. A dark photo taken from the wrong side, with three things happening at once, confuses more than it explains. The steps below are the method we recommend for every photo and video in a work instruction. They build on the general rules in how to write a work instruction: one task per instruction, one action per step, concrete values.
Photo or video: which do you need?
Before you shoot anything, decide per step what kind of visual it needs. A simple rule of thumb:
- Photo for a state: the position of a part, a setting on a display, the right label, the finished result, the most common mistake.
- Video for a movement: a twist-and-push, a sequence of hand movements, the force needed, a click you need to hear.
- No visual for steps that are obvious from the text, such as "press Start" on a machine with one green button.
Most good visual instructions are mostly photos, with a few short videos for the movements that are hard to describe.
How do you make photos and videos that work?
1. Plan the shots per step before you start
Write the steps first and decide per step which photo or video you need. Walk through the task with an experienced operator and note the moments that are easier to show than to describe. A short shot list prevents you from coming back three times because a photo is missing.
2. Shoot from the operator's point of view
Take every photo and video from the position where the operator stands, at the height of their eyes, looking in the direction they look. An image taken from the other side of the machine is mirrored for the person who uses it, and left and right get mixed up. If the operator works seated, crouch down; if they look into the machine from above, hold the phone above it.
3. Show one action per photo
Each photo should answer one question: where does it go, what should it look like, which button. Fill the frame with that subject and leave out everything else. If you need to show both the position of a part and the tightening pattern of the bolts, make two photos. A close-up of the detail plus one overview photo for orientation works better than one wide shot.
4. Mark what matters
Draw attention to the part of the image that counts: an arrow to the correct hole, a circle around the reading on the display, a red cross on the photo of the wrong situation. Use the editing tool of your phone or an image editor before you add the photo, and keep the marking simple: one colour, one or two arrows. A physical marking on the workplace itself (a coloured line, a label with a number) is even better, because the operator sees it in the photo and at the machine.
5. Get the light right
Most failed photos are too dark or have reflections. Use the workplace lighting and add light where needed, for example a work lamp from the side. Avoid the flash on shiny metal or displays, because it causes glare that hides exactly the thing you want to show. Clean the lens of the phone; a greasy lens is the most common cause of a vague photo on the shop floor. A calm background (a sheet of cardboard behind a small part) also helps.
6. Keep videos to 10 to 30 seconds per step
One video shows one step. Start just before the movement and stop just after it, so the operator does not have to search for the moment that matters. Hold the phone steady, or put it on a stand, and film in landscape when the screen at the workplace is in landscape. If a step takes longer than 30 seconds to show, it is probably more than one step.
7. Decide whether you need sound
On the shop floor sound is often useless: machines are loud and many people wear hearing protection. Make sure a video is understandable without sound, and put the key information in the text of the step. Keep the sound only when it carries information, such as the click of a connector that engages or the sound of a correctly running pump.
8. Respect the privacy of colleagues
A recognisable person in a photo or video is personal data under the European GDPR, so treat it that way. Frame on the hands and the work, not on faces. Tell colleagues what you film and why, and agree internally how these images are used and stored. Avoid name badges, screens with personal information and other people in the background. When in doubt, ask your privacy officer. The European Commission explains the general rules on its data protection pages.
9. Update the visuals when the process changes
An outdated photo is worse than no photo: the operator sees one thing at the machine and another on the screen, and does not know which to trust. Make retaking photos part of every process change: a new part, a new tool, a moved button. Publish the updated instruction as a new version so everyone works from the same one, and keep the old version for traceability. See version control for how that works.
What should you do and avoid?
| Do | Don't |
|---|---|
| Shoot from where the operator stands, at eye height | Shoot from the other side of the machine or from a ladder |
| One subject per photo, frame filled | A wide shot of the whole workplace with three actions in it |
| One arrow or circle on the detail that matters | Many colours, text in the image, arrows everywhere |
| Workplace light plus a side lamp, clean lens | Flash on shiny metal or a display |
| Video of 10 to 30 seconds, one movement, steady phone | A five-minute recording of the whole task |
| Understandable without sound, key information in the text | Spoken explanation that nobody hears on the shop floor |
| Hands and work in the frame | Recognisable faces, name badges, personal screens |
| A photo of the most common mistake, marked as wrong | Only "good" photos, so a wrong situation looks unfamiliar |
| Retake photos with every process change | Keep photos of an old fixture "because they are almost right" |
How do you check a visual work instruction before publishing?
Before you publish, run through this short check:
- Does every step that needs a visual have one, and is every visual needed?
- Is every photo taken from the operator's point of view?
- Can you tell in one second what each photo is about?
- Are all photos sharp and bright enough on the screen used at the workplace?
- Is every video shorter than about 30 seconds and understandable without sound?
- Are there no recognisable faces or personal information in the images?
- Has an operator who did not make the instruction followed it without asking?
How does this work with digital work instructions?
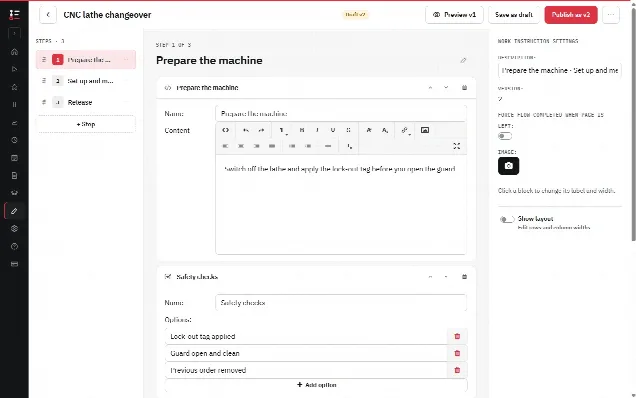
In the Work Instruction App you can build a visual work instruction in two ways. With the photo work instruction function you take photos in sequence while you walk through the task; every photo becomes a step, with an optional caption and description. The video work instruction works the same way with short videos. You then open the result in the editor to add text, checks or input fields. If you already have photos or PDF pages, "convert files to work instructions" turns every uploaded image or PDF into a step of a new work instruction.
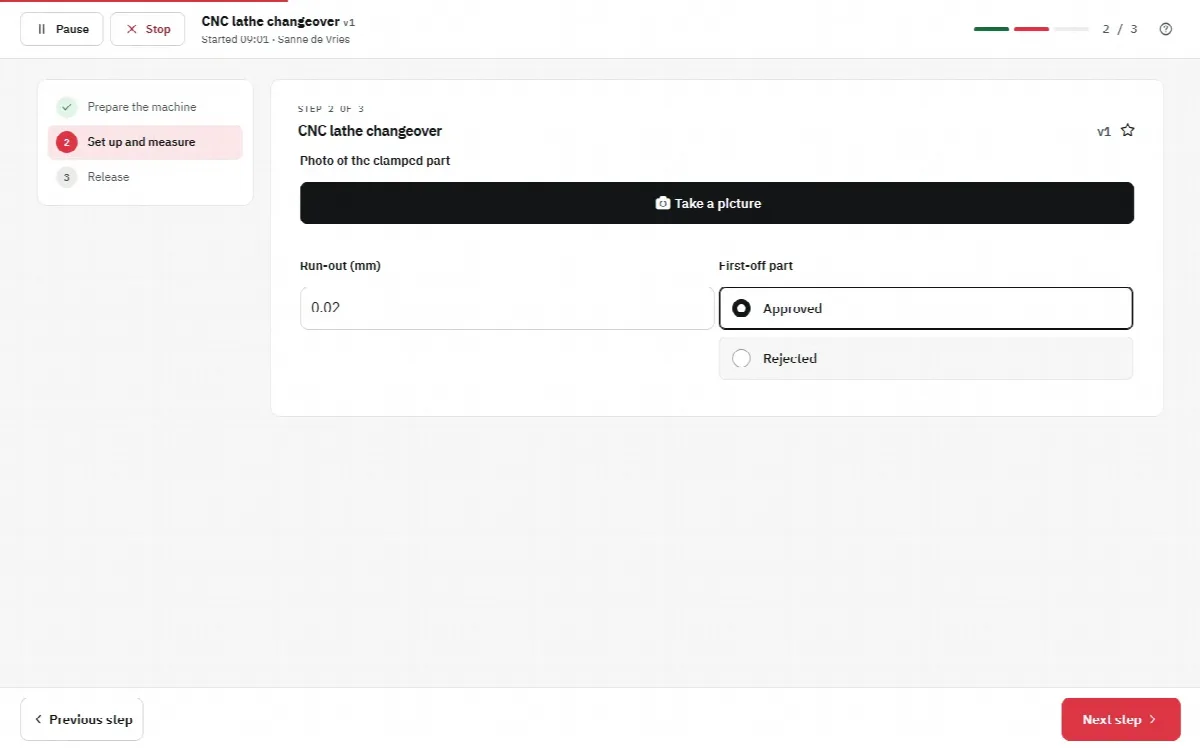
In the editor you can also add photos, videos, PDFs and YouTube videos to a step yourself; see display elements. The other way round, operators can take a photo, record a video or audio during a run, for example of the finished result or an abnormality; see device input. Those photos are stored with the run, together with the user, time and version.
Publishing creates a new version, so updating a photo after a process change is a matter of replacing it and publishing again. The work instruction page gives an overview of all functions, and getting started shows how to build your first instruction.